21 August 2024
In today’s digital age, automating document workflows is essential for efficiency and user satisfaction. At Qavi Tech, we faced the challenge of needing to send both pre-existing and dynamically generated PDFs from our application to users for signing and downloading. To meet this need, we turned to the DocuSign API.
The Problem
Our application required a seamless way to send digital documents to users, ensuring they could easily sign and return them without leaving the platform. Traditional methods were cumbersome and time consuming, prompting us to look for a more integrated solution.
The Solution: DocuSign API Integration
DocuSign was the perfect fit, offering a robust API to automate document sending and signing. However, the integration process was far from straightforward. From handling OAuth 2.0 authentication to implementing JWT tokens, the process introduced several challenges. Debugging issues like invalid grant errors and troubleshooting authorization problems tested our persistence.
Despite the hurdles, successfully integrating the DocuSign API proved rewarding. It underscored the importance of thoroughly understanding documentation, especially when dealing with complex authentication flows like OAuth. The experience not only improved our application’s functionality but also broadened my understanding of API integrations.
Getting started with docu-Sign API Integration
1. First step is to visit app-d.docusign.com and create a developer account
2. Move over to Apps and Keys from top right corner and setup an integration and RSA key pairs

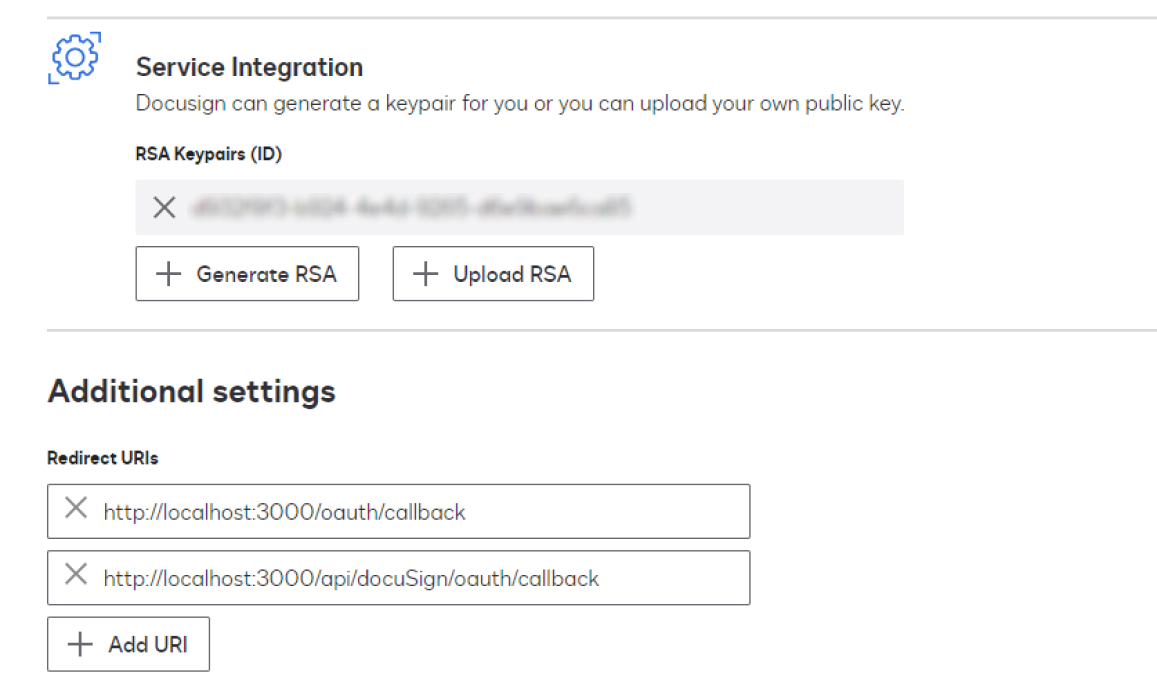
3. After this, Setup your .env file and set all the environment variables

Now comes the tricky part, you have to setup your app to first get one time consent and then call for JWT token every time you have to make a request
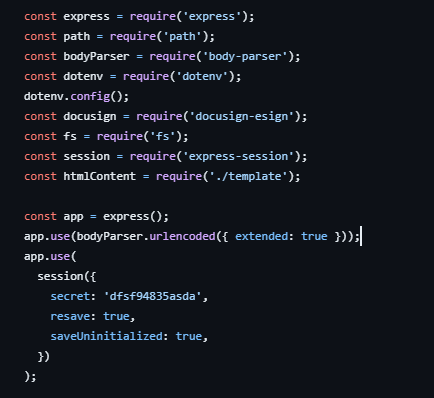
4. Now, let us setup an express server for our node project
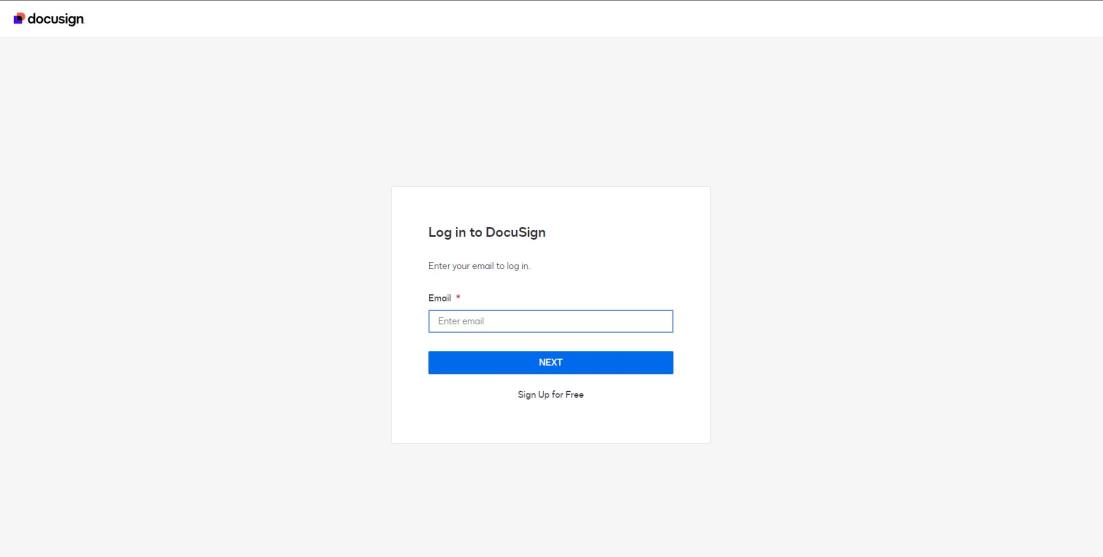
5. Next step is to create a consent URL and get redirected with token.

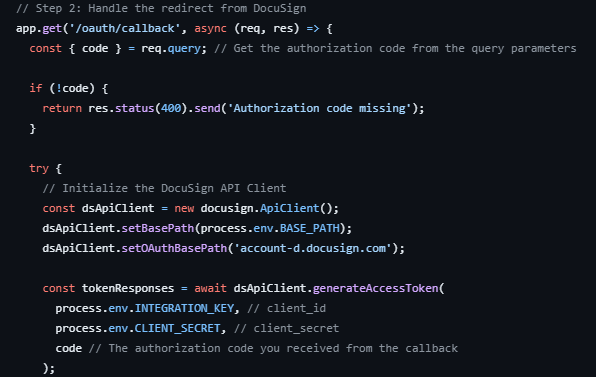
6. Now, lets handle the redirect URL logic
7. Set the token to your session to use it in other Api calls.
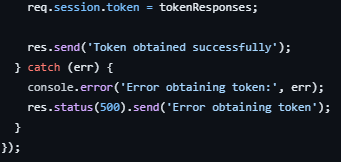
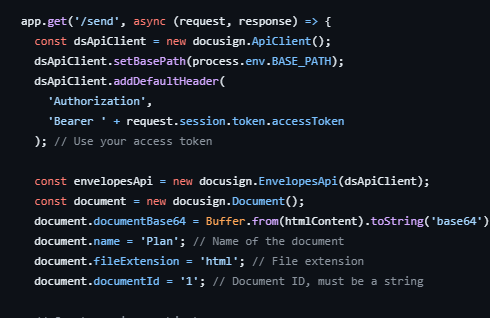
8. Now, lets try sending an envelope with html document for signing.
Setup a path and initialize the Api Client
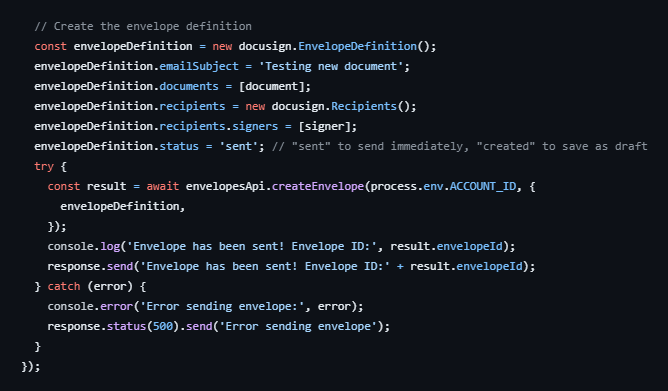
9. Now, let setup our signer and send the envelope

10. We can view the sent envelope in our gmail.
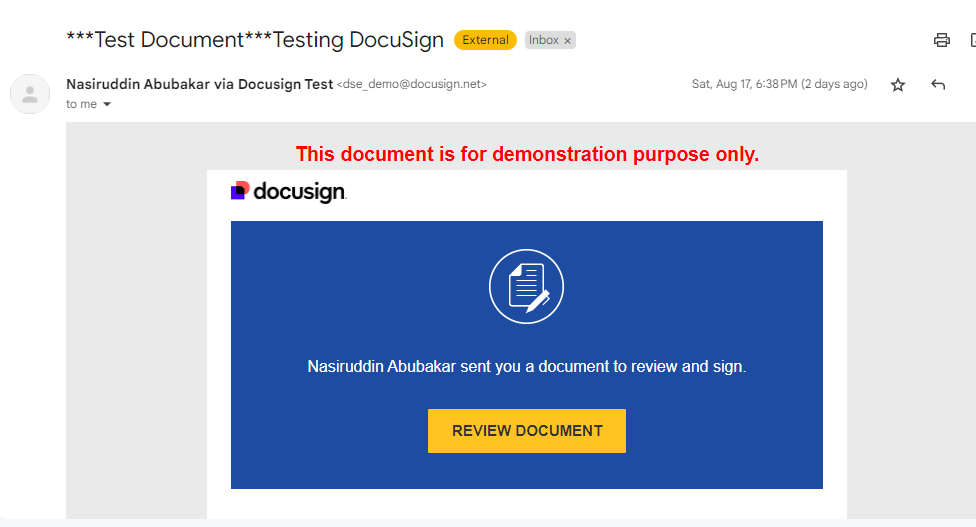
11. Open the envelope to see your document
12. Your document is now complete.
